A useful plumbing photograph does more than prove that something is wet, loose or damaged. It helps show which fixture is involved, where the problem sits, how much room surrounds it and what an engineer may need to inspect on arrival. A short, deliberate set of images can make the first conversation clearer without asking anyone to diagnose the fault from a picture.
When choosing a plumber, Eastbourne homeowners can make the first conversation clearer by showing the fixture, access, visible symptom and desired outcome. Optimum HVAC handles general plumbing repairs and small works, from leaks, taps and toilets to pipework, radiators and practical job checks. Likely parts, water isolation and whether the work is planned or urgent can also change the scope, so the useful photos are the ones that show those details safely.
Begin with one photograph of the whole setting
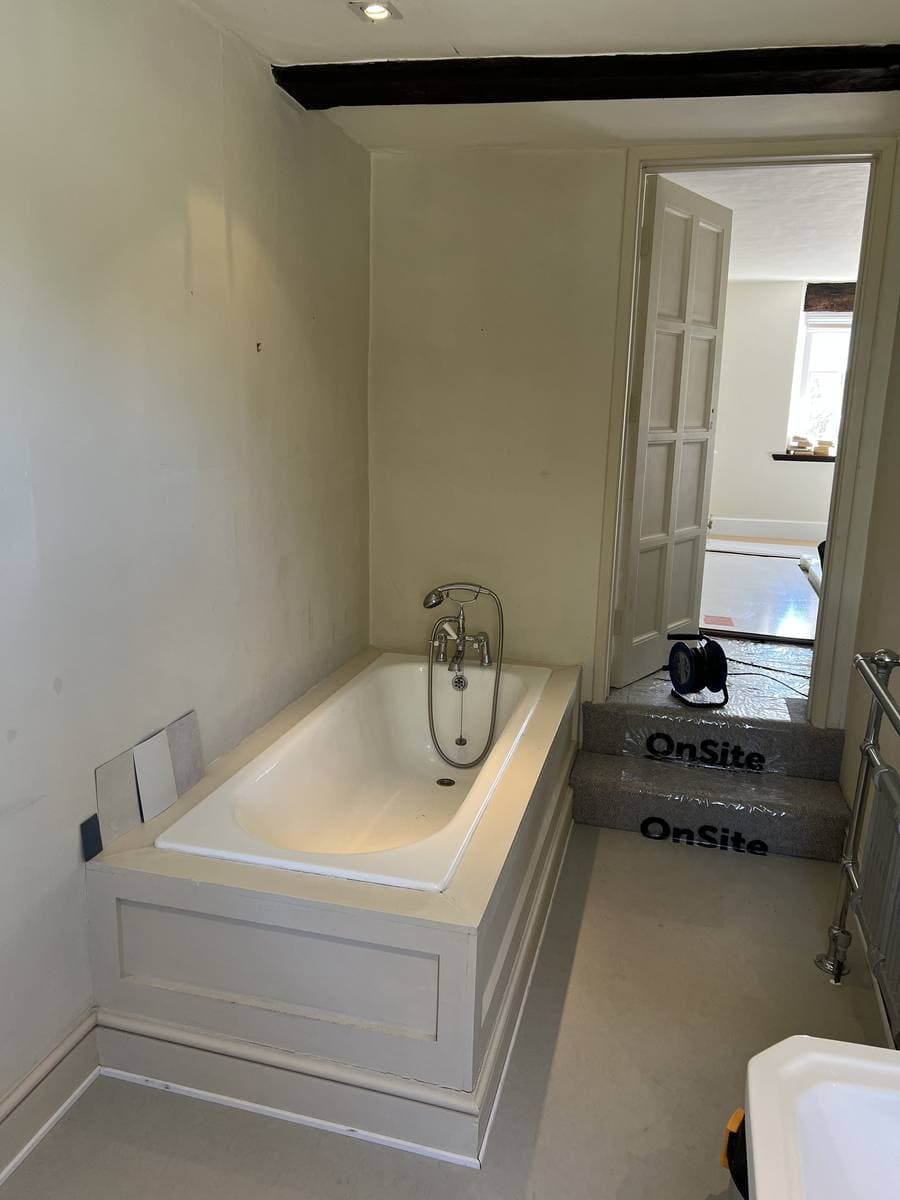
Start far enough back to show the fixture in the room. A close-up of a drip may hide whether it comes from a basin, toilet, radiator or nearby pipe. The wider view gives the next image a reference point and shows cupboards, boxing, furniture or sanitaryware that may affect access.
Keep the image honest. Do not move a fitted panel, disconnect anything or pull a heavy appliance forward just to improve the view. If the useful area is concealed, say so in the message. Knowing that access is restricted is itself valuable information for planning the visit.
Add close-ups that answer one question each
Take the next photographs with a clear purpose. One can show where water first becomes visible. Another can show a damaged fitting, a stain or the connection immediately beside it. If a model label is already visible on a tap, toilet component or appliance, photograph it without disturbing the item.
- Include a wide view that identifies the room and fixture.
- Show the visible symptom from a safe, steady angle.
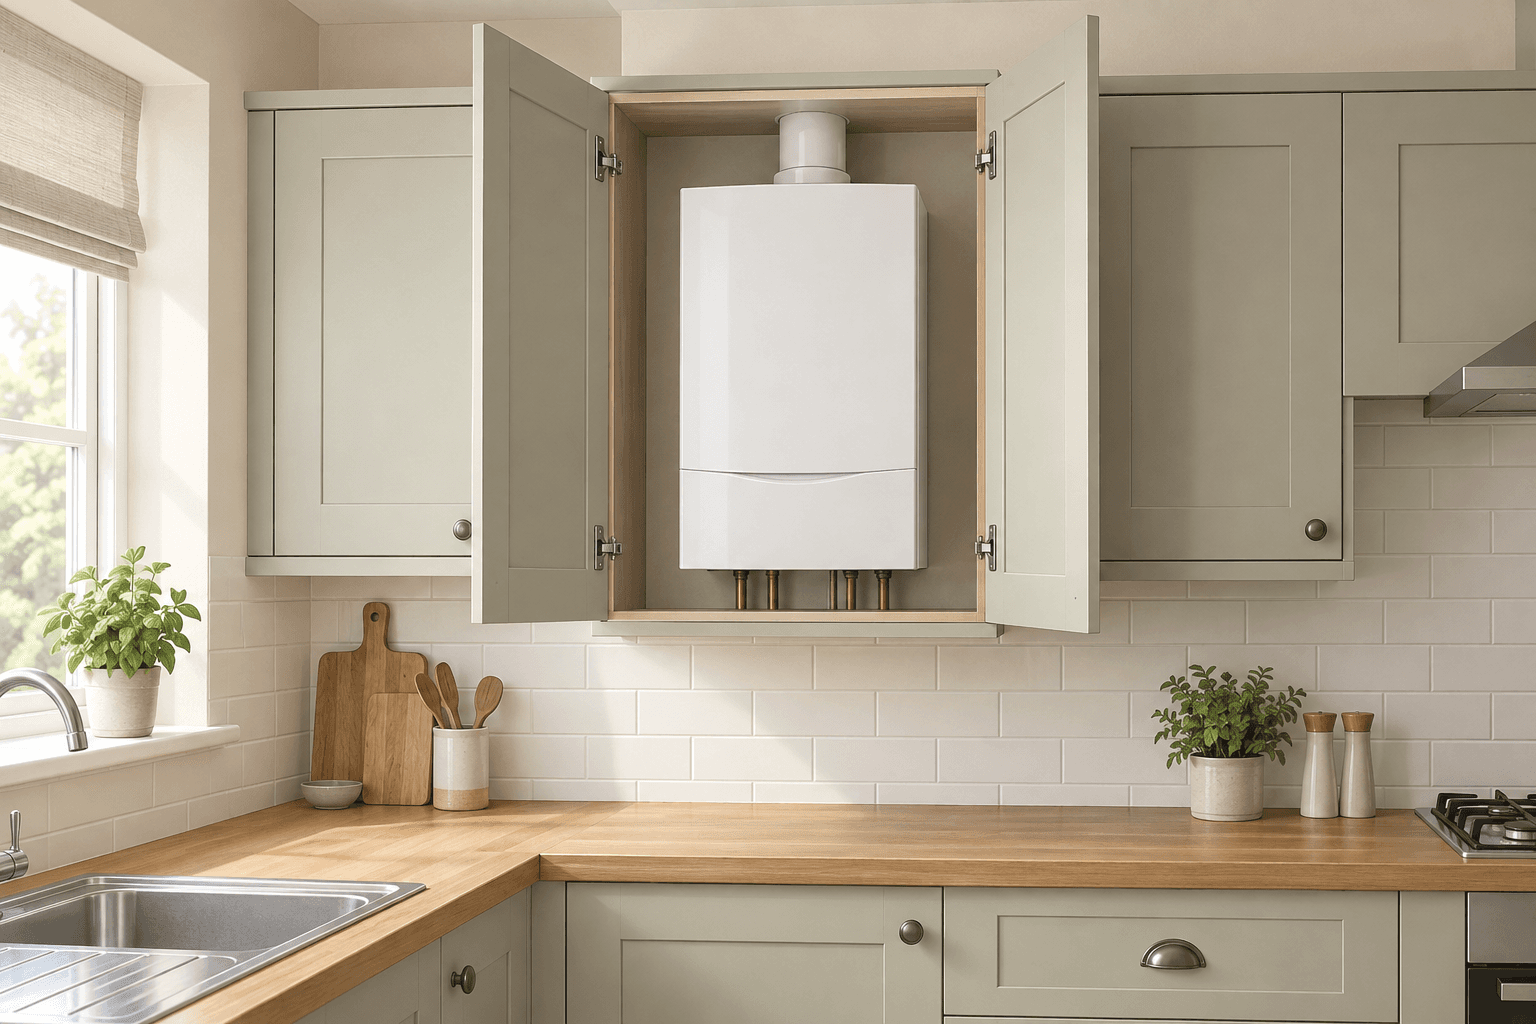
- Add an access view with doors or cupboard fronts open only where they open normally.
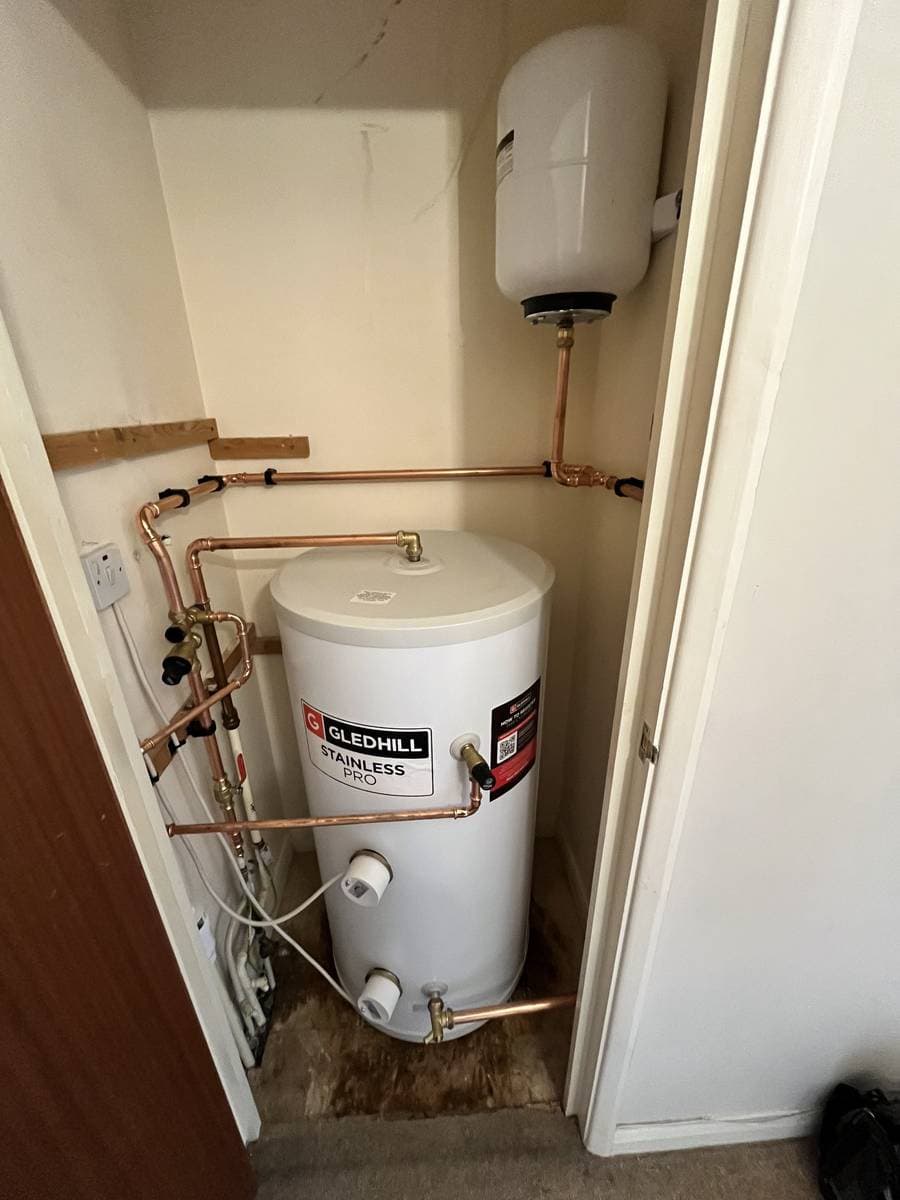
- Photograph an existing label or marking when it can be read without removing a cover.
- Place a familiar object beside a stain only when scale is otherwise unclear and the area is safe to approach.
- Send the clearest few images rather than a long run of near-identical shots.
Pair the images with a short timeline
A photo freezes one moment, while many plumbing problems change. Add two or three sentences explaining when you first noticed the issue, whether it is constant or occasional, and what was happening during ordinary use. If water appears only after a tap runs or a toilet is used, report what you already observed. There is no need to recreate the problem for the camera.
Describe the effect as well as the appearance. Say whether the fixture remains usable, whether the issue affects one outlet or several, and whether the visible area is getting worse. Plain descriptions are more useful than naming a part you cannot see.
Show access and explain isolation without experimenting
Access and water isolation can change how a plumbing job is approached. A photograph can show a narrow cupboard, a boxed-in pipe route or the working space around a fixture. In the message, say whether you already know the location of the relevant isolation control. Do not turn unfamiliar valves simply to complete the brief.
Access outside the room can matter too. Mention parking, stairs or a route through a shared building when these are likely to affect arrival or carrying equipment. These practical facts belong in the first message, while personal or unrelated household details do not.
Separate the visible symptom from the requested outcome
Two customers can send the same photograph and need different work. One may need a leaking tap repaired; another may be planning changes to several fixtures or pipework. State the immediate problem first, then add the outcome you want. Optimum HVAC handles general plumbing repairs and small works, so that distinction helps clarify whether the enquiry concerns one repair or needs a broader on-site assessment.
A photo cannot confirm everything behind a wall, below a floor or inside a fitting. Treat any early response as scoping rather than a final diagnosis. The engineer can confirm the cause, parts and work route after inspecting what the camera cannot show.
Questions customers ask
How many photographs should I send?
Usually a small set with different purposes is enough: one whole-setting view, one or two clear symptom views and one access or label image where relevant. Remove duplicates before sending so the important details are easy to find.
Should I take a fitting apart to photograph it?
No. Keep fitted covers, plumbing connections and appliance cases in place. Explain what is concealed and let the person attending decide how it should be inspected.
Can photographs produce a final price?
They can make an initial scope more useful, but access, parts and the cause of the symptom may still need an in-person check. Ask what the early estimate includes and what remains subject to inspection.
Put the fixture, symptom, timing, access and desired outcome into one concise message, then attach only the images that support it. Read about general plumbing work or send Optimum HVAC the job details.